Terrarium layers: what they do, and what they cannot do
The bands of stone, substrate and moss in a terrarium can be as attractive as the planting. They also make it tempting to copy a photograph without asking what each layer is doing. Before opening a bag of materials, draw a cross-section of your vessel. Mark the intended root zone, the position of any decorative stone and the remaining height for plants. The drawing should explain how you will inspect and maintain the planting, not just how it will look.
A bottom layer is not a drain
In a vessel without an outlet, water remains inside until it is removed or evaporates. Oklahoma State University Extension cautions that gravel, sand or charcoal layers do not improve drainage and can impede water moving out of the finer medium above. A visible pool below the planting is therefore not permission to keep watering. A drained pot releases excess water through holes; a closed glass container does not gain that ability from a layer of pebbles.
You may still choose a lower decorative layer for appearance, but describe it honestly as part of the arrangement. Do not calculate a generous watering allowance from its depth. If you want the control of ordinary container growing, use removable pots inside a display vessel and empty collected water separately. This alternative can be especially useful when plants need different treatment or when you want to inspect roots without dismantling the whole composition.
Choose the growing medium for the plant
The root zone needs a material appropriate to the chosen plant and to the way the container retains moisture. Heavy garden soil is not a sensible default. Nor is a branded mix automatically suitable for every enclosure. A recipe that performs well in a ventilated nursery pot may behave differently beneath a lid. Ask what a mix contains, whether it includes fertiliser and whether the nursery recommends it for the specific plants and container you have chosen.
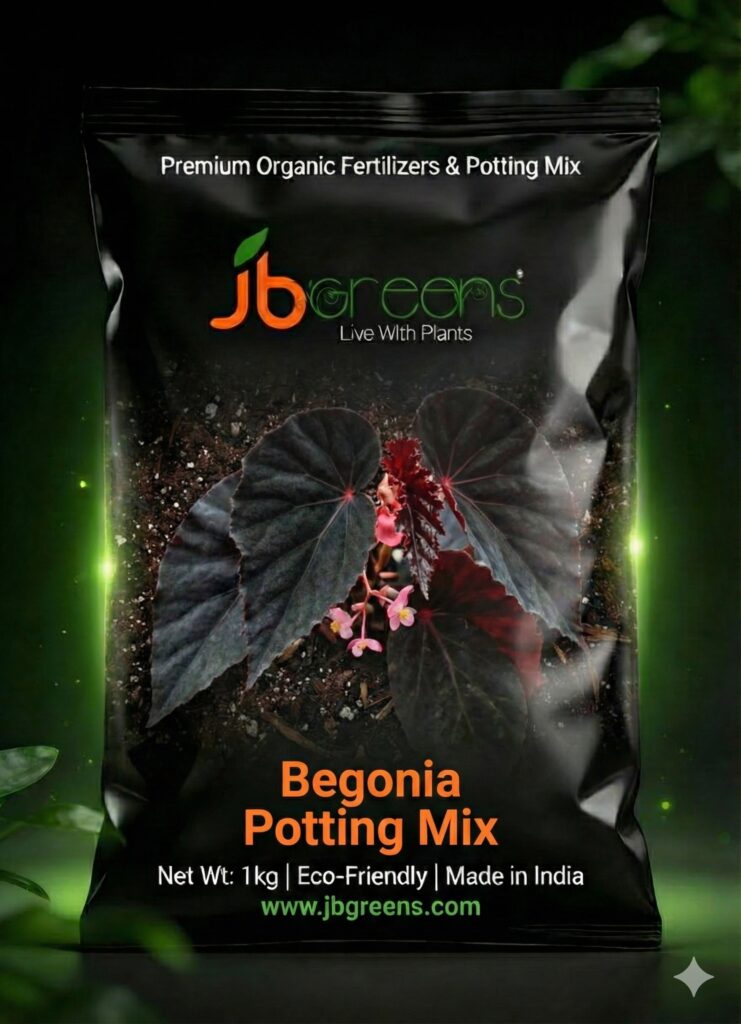
JB Greens lists Begonia Potting Mix and Fern Potting Mix. Match either product to the actual species and setup after checking its current description with the nursery. They are not interchangeable universal terrarium recipes. Avoid adding a tonic or fertiliser simply because it appears beside a media product. Feeding decisions depend on the plant, the existing nutrient supply and its stage of growth.
Rehearse before committing
Arrange the empty nursery pots and hardscape on a paper outline of the vessel. Mark where you need a planting pocket and where you want open visual space. Measure the existing root balls rather than guessing from leaf size. Keep enough usable height above the substrate for future growth and enough access around a feature stone to remove fallen material. If a layout needs a deep substrate mound just to lift a tiny plant into view, consider a different vessel or viewpoint.
Use materials intended for horticultural use, and clean the container and tools before assembly. Keep product packaging or record ingredient details for future troubleshooting. A photograph of each stage is helpful: once the surface is covered, you may otherwise forget where the root balls and stones sit. Do not conceal every edge with moss or gravel before you have worked out how you will assess moisture.
Check the result, not the recipe
After planting, record what went in and any water added. If the medium stays visibly saturated or water accumulates, pause further watering and review the setup. A deeper gravel layer will not correct an unsuitable root environment. Changing the arrangement may be less work than repeatedly rescuing struggling plants. A successful layered design is one whose owner can explain every material, recognise its limitations and reach the plants when an adjustment is needed.